By Rendero | Updated 12 September 2026
Using Rendero
- What to bring
- An interior sketch, model view or existing room image with a clear layout.
- What you can do
- Generate a room study, then select a surface for a focused revision. Use a prompt and any reference controls supported by the selected engine.
- What to check
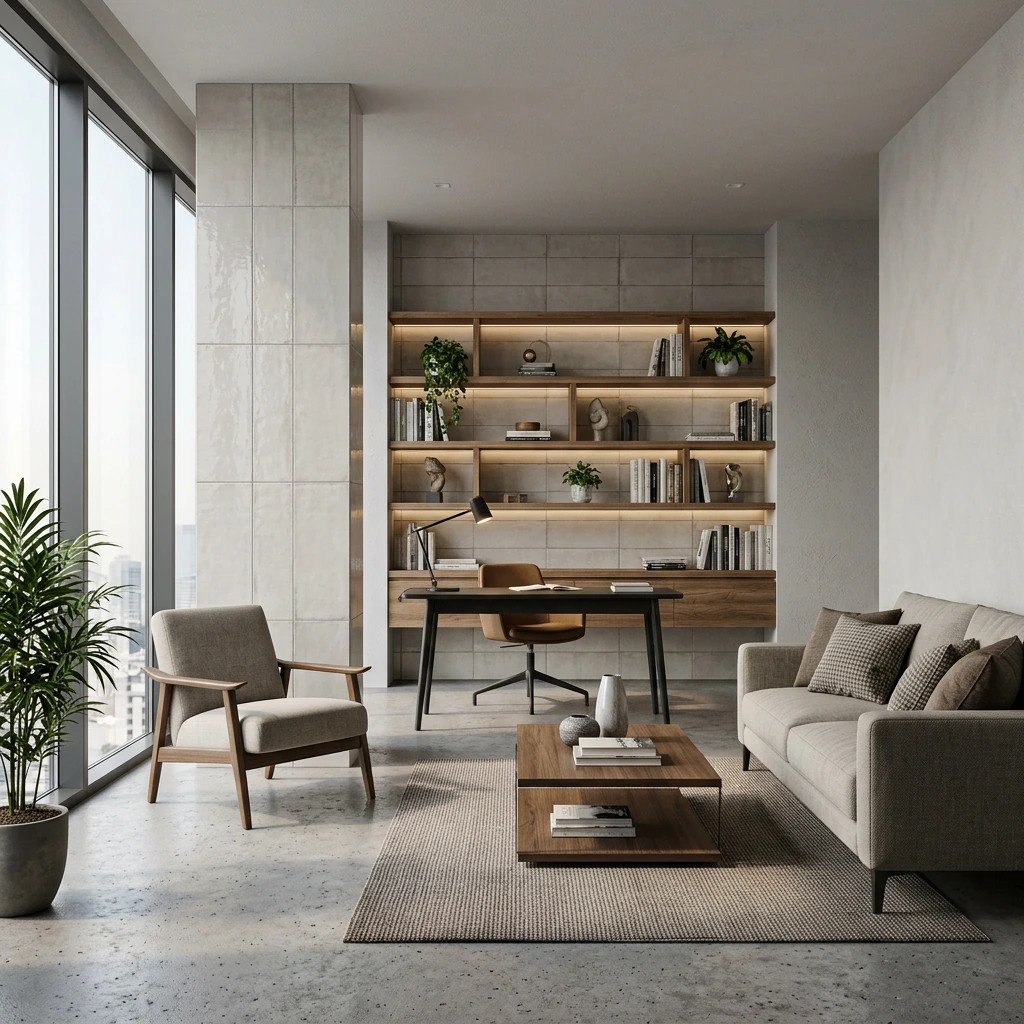
- Check furniture scale, openings and circulation against the source. The linked interiors are separate showcase images, not before-and-after versions of one room.
Explore three separate interior showcase images
How credits work
Free accounts receive 50 starting credits once at signup. These credits do not refill each month.
Rendering charges vary with the model, resolution and, for some engines, processing time. Upscaling uses additional credits. The app shows your remaining balance.
Allow for retries and edits when planning a project. A credit balance does not represent a fixed number of finished images.
Interiors are unforgiving: a shifted door, oversized sofa, impossible reflection, or invented strip light can make an otherwise beautiful image unusable. Start with a view that shows the room's layout, then compare finishes and atmosphere against that source.
A practical 6-step AI interior rendering workflow
- Choose one decision for the image. Decide whether you are testing the material palette, daylight, furniture character, or overall atmosphere.
- Export a clear base view. Include the elements that define scale, and remove temporary guides or accidental geometry. Do not hide unresolved layout problems with an extreme lens. A clay render shows the room with neutral materials; a model screenshot can work too. See the base-image guide.
- Write down what must stay fixed. Usually this includes walls, windows, doors, ceiling height, built-in joinery, camera position, and circulation. Put these constraints in the prompt and the review checklist. The prompt alone does not enforce them.
- Define a concise visual direction. Name the room type, two or three materials and the lighting condition. A reference image can clarify an oak tone or the softness of the daylight; say which quality you want to borrow.
- Generate a small, comparable set. Keep the same base view and change one variable at a time. Record the selected model, output size, references and any exposed influence settings so you can identify what changed.
- Refine locally and review at full size. Inspect the selection around a floor, wall or piece of furniture before editing it. Afterwards, check both the changed area and its surroundings against the source.
A prompt to adapt to your room
State what must remain fixed, name the room and materials, then describe the light. The following is a suggested instruction; no recorded output accompanies it.
Create a realistic residential interior from this clay model. Keep the same camera, room proportions, window and door positions, ceiling height, circulation, and built-in joinery. Use light oak flooring, warm off-white mineral plaster, brushed stainless-steel details, and natural linen upholstery. Soft overcast daylight, balanced exposure, believable material scale, restrained styling, eye-level architectural photography. Do not add openings, change the layout, lower the ceiling, or overfill the room with decor.
Example brief: two living-room palettes
Imagine a residential living room modeled in SketchUp. The window wall, fireplace, kitchen joinery and camera are approved, but the client has not chosen between a pale oak scheme and a darker palette. This is a hypothetical brief.
Export one neutral model view. Prepare two studies from that camera, keeping the light and other settings consistent while changing the material palette. Compare the joinery and openings with the source before putting the studies side by side. Reject or correct a version that changes the room's layout.
Interior QA checklist before a client sees the image
- Count the doors, windows, and major pieces of furniture.
- Check circulation widths and the apparent scale of chairs, tables, and lights.
- Inspect built-in joinery, handles, edges, junctions, and repeated elements.
- Check mirrors, glazing, shadows, and reflections for impossible geometry.
- Confirm that material size and orientation are believable.
- Separate specified products from AI-invented lookalikes.
- Confirm that the image communicates the decision you intended to discuss.
When to work from the 3D scene
A conventional renderer works from a 3D scene with defined geometry, materials, lighting and cameras. That scene can use existing assets and presets: Chaos Cosmos, for example, supplies models, materials and HDRI skies for V-Ray and Corona. Image-based AI starts from a visual input and generates variations, which still need to be checked against the design.
Use the model, drawings and verified product information when dimensions, construction details or exact furnishings matter. An attractive generated chair is not evidence that a specified manufacturer's product is shown.
For a study in Rendero, save the input, prompt, available settings, accepted and rejected outputs, and actual credit use. The render-review notes template gives you a place to record them.