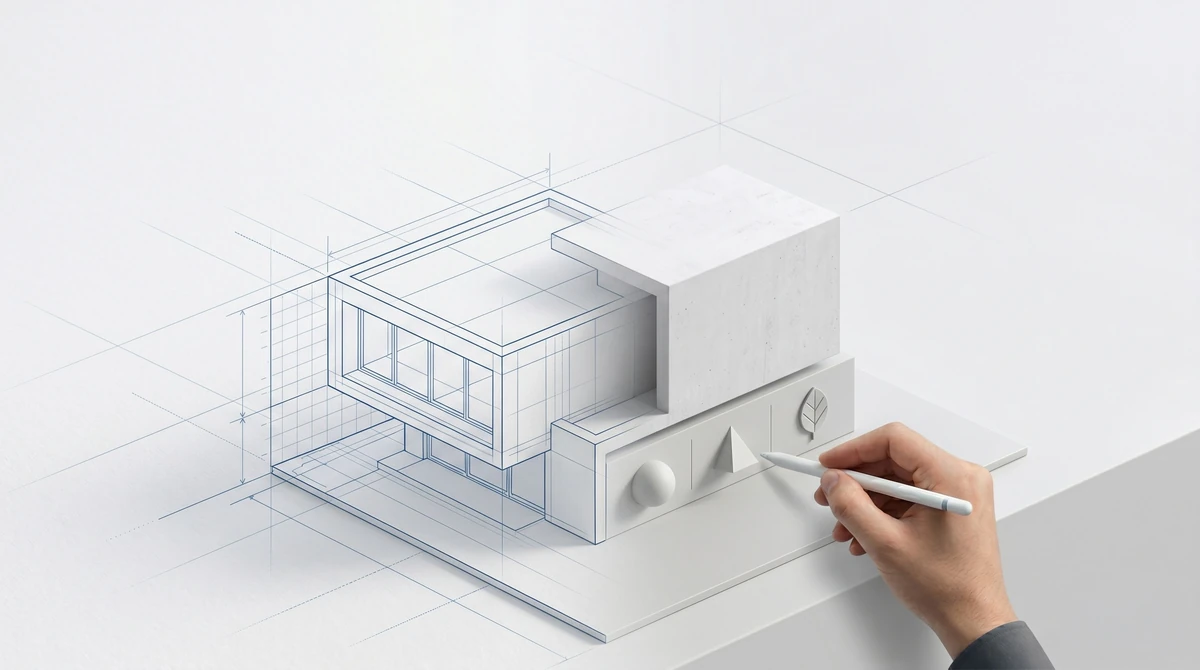
By Rendero | Updated 12 September 2026
Using Rendero
- What to bring
- A sketch, clay render, model-view export or existing image saved as PNG, JPG or WebP.
- What you can do
- Generate an image from your source, then guide revisions with prompts, selected regions and the reference options supported by your engine.
- What to check
- Compare the camera, openings and material boundaries with the source. Apply accepted design changes to your model and project documents.
Inspect two published source-view examples
How credits work
Free accounts receive 50 starting credits once at signup. These credits do not refill each month.
Rendering charges vary with the model, resolution and, for some engines, processing time. Upscaling uses additional credits. The app shows your remaining balance.
Allow for retries and edits when planning a project. A credit balance does not represent a fixed number of finished images.
Use AI architectural visualization to compare materials, lighting and atmosphere from a sketch, model view or existing render. Review each result against the design: a plausible facade joint, stair or reflection may have been invented.
Choose a workflow from the input you have
- A sketch: crop and clean the drawing before exploring materials or context. Follow the sketch preparation guide.
- A clay render: use its neutral surfaces to study finishes while checking the visible geometry. The clay guide includes published model and presentation images for inspection.
- A SketchUp model: save the camera and export a readable image. Follow the SketchUp export workflow.
- An interior view: compare palettes and lighting, then check openings, circulation and built-in joinery. Use the interior workflow and checklist.
- An existing render: select the area that needs a change and inspect its boundary. The selection-review guide shows what to check before a local edit.
Export a view for Rendero with the SketchUp guide, Revit guide (in English) or Rhino guide (in English).
A suggested review framework
These four labels are our suggested way to describe an image's purpose. They are not an industry standard or a certification of accuracy.
- Exploratory image: used internally to test mood, character, or broad material direction. Wide variation is acceptable and invented details are expected.
- Review image: used to compare defined options. Check that the camera and main geometry remain consistent so the comparison is meaningful.
- Presentation image: checked against the current design and suitable for explaining intent to a client. Identify important materials or details that remain unresolved.
- Technical or approval image: expected to represent exact products, dimensions, details, or contractual commitments. Use a controlled model, drawings, schedules, and verified specifications to substantiate those elements. An AI image alone is insufficient evidence.
Read the facade before judging the finish
In the published clay-house example below, compare the three tall glazed bays, roof silhouette and lower side extension. Then inspect window divisions, facade seams and the ground around the pool. Decide which changes suit the study and which need correction against the model.
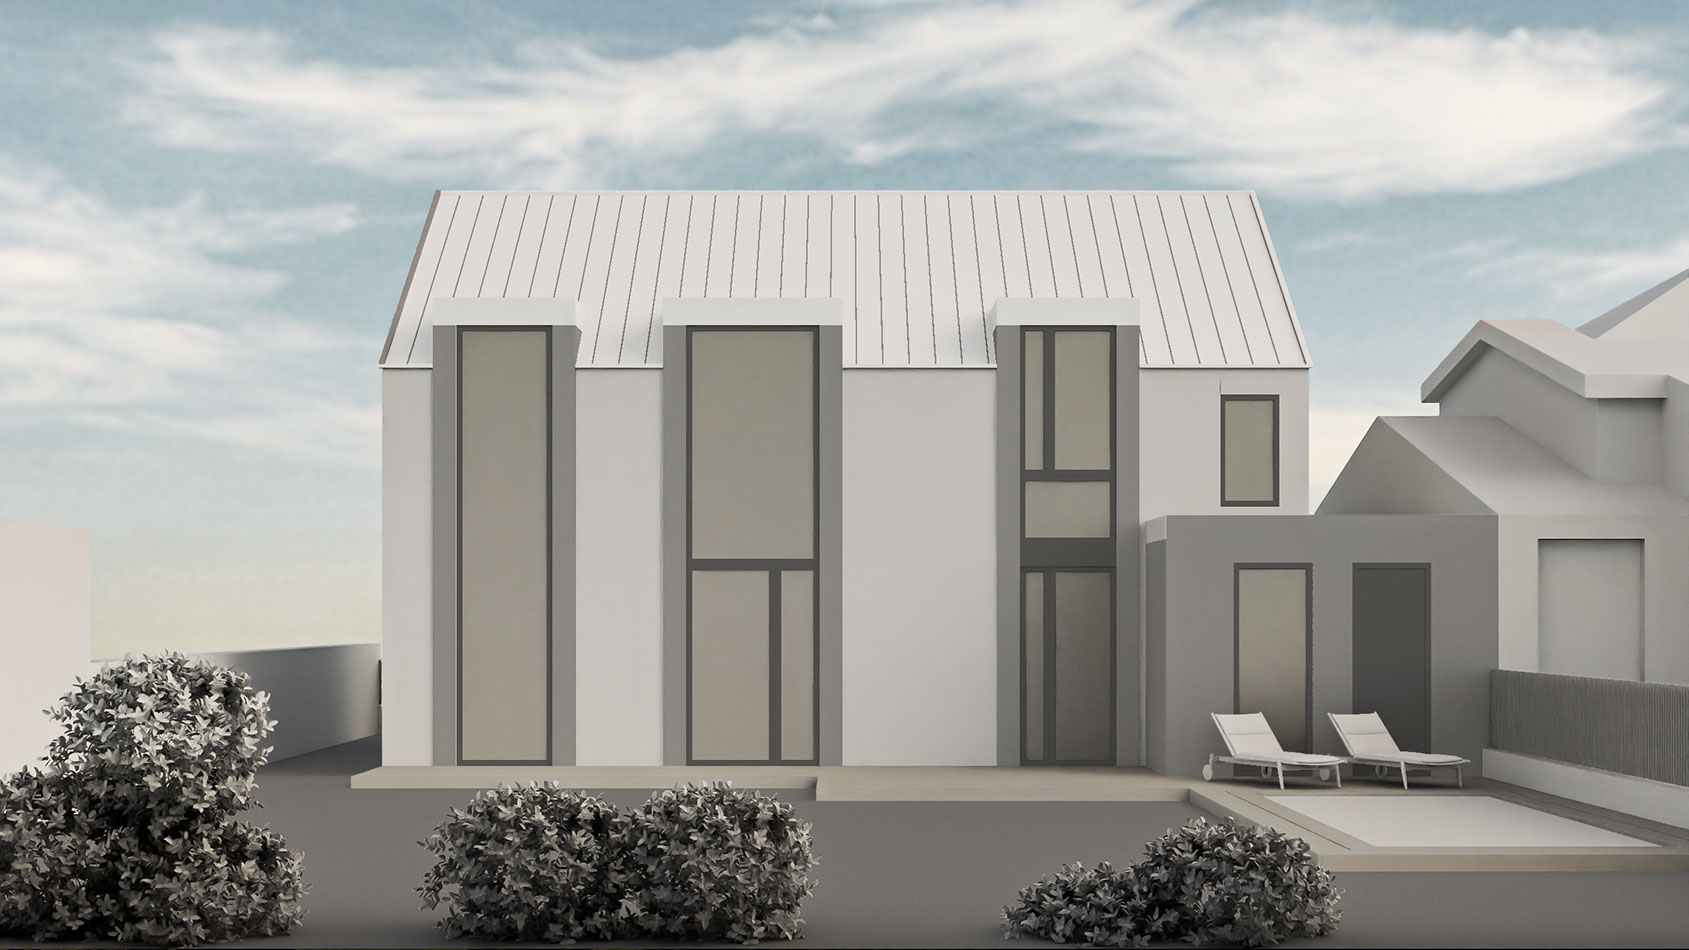
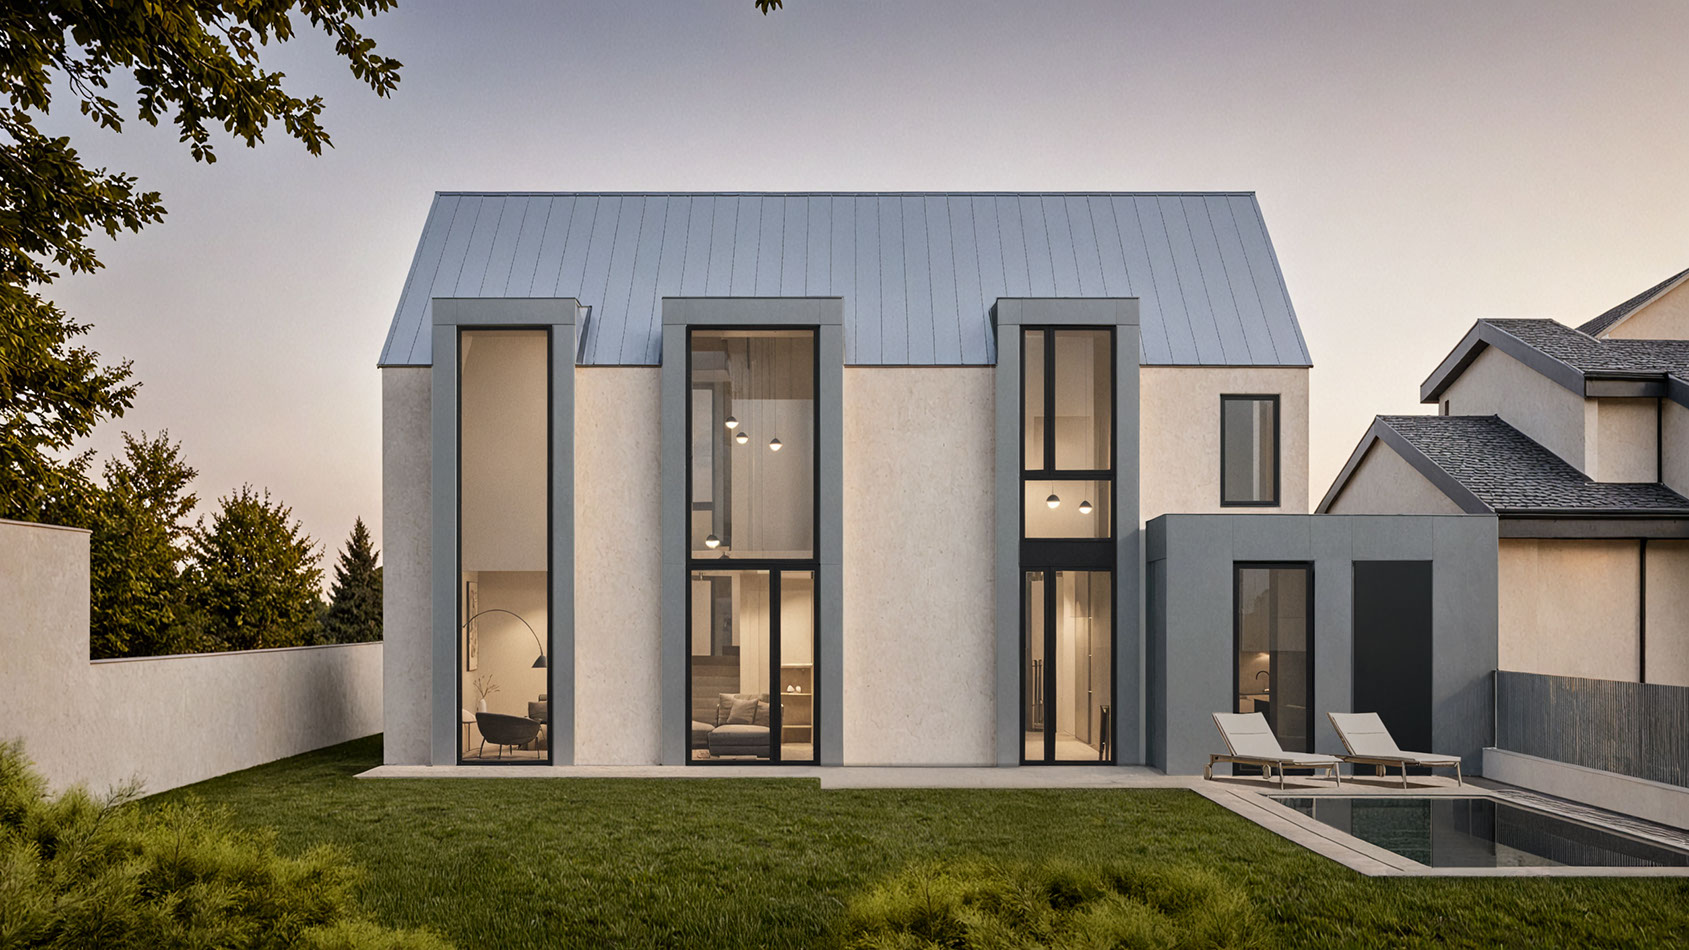
These are existing Rendero demo assets with corresponding facade geometry. Their complete original generation record is unavailable. Use them for visual review; they do not establish a repeatable result or identify a customer project. The full clay guide explains their provenance and review points.
The architect's final review checklist
- Compare the silhouette, levels, openings, and camera with the source model.
- Inspect stairs, railings, balconies, roof edges, junctions, and repeated elements.
- Check material scale, direction, seams, and transitions.
- Look for impossible shadows, reflections, glazing, vegetation, people, and vehicles.
- Confirm which products and details are specified and which are only visual placeholders.
- Ask whether the image answers the intended design question without introducing a new one.
- Label the image honestly if it is exploratory or contains unresolved design assumptions.
Rendero accepts base images and references for generating visual options and editing selected areas. Keep your SketchUp, Revit, Rhino or Blender model as the design record. For the next review, use the client-presentation workflow to state what each option is asking the client to decide.