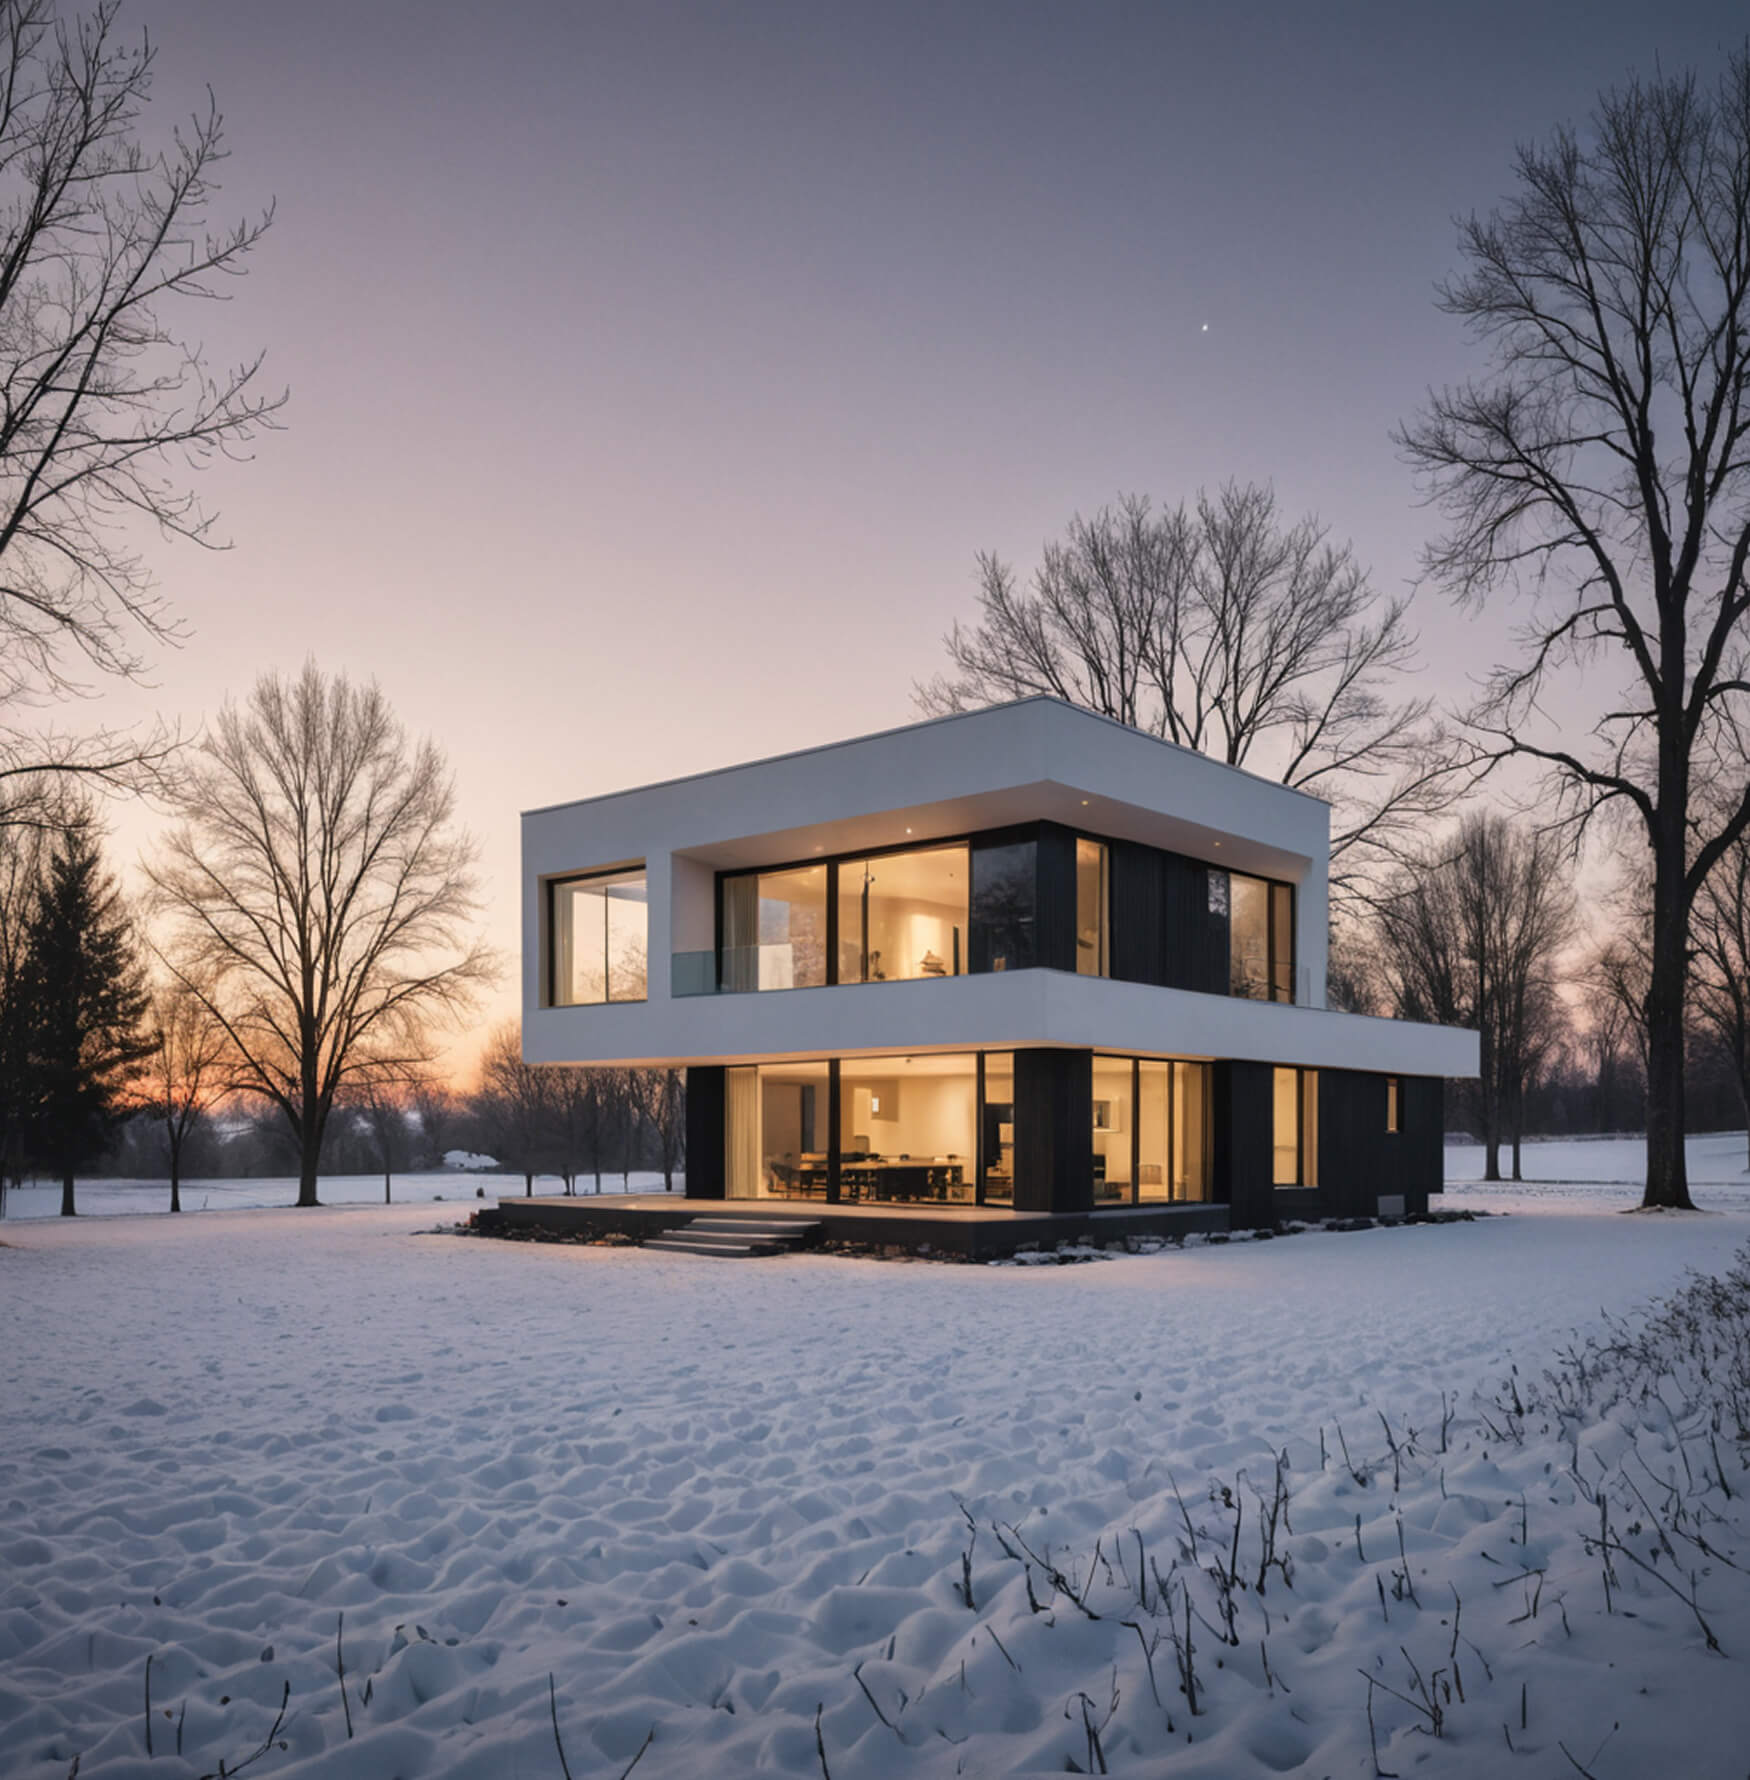
By Rendero | Updated 12 September 2026
Using Rendero
- What to bring
- A sketch with a clear perspective, ground line and readable openings. Remove annotations that could be mistaken for building details.
- What you can do
- Use a written instruction to explore materials and light from the drawing. Add references where the selected engine supports them.
- What to check
- Compare the silhouette, openings and scale with your sketch. Resolve dimensions and construction details in the design documents.
Read the source-image preparation guide
How credits work
Free accounts receive 50 starting credits once at signup. These credits do not refill each month.
Rendering charges vary with the model, resolution and, for some engines, processing time. Upscaling uses additional credits. The app shows your remaining balance.
Allow for retries and edits when planning a project. A credit balance does not represent a fixed number of finished images.
A sketch can show proportion, rhythm, massing or a first spatial intention before the design is ready for a detailed 3D model. Use it to explore a material direction or prepare a concept for discussion. Review any added windows, roof details and landscape against the drawing.
Prepare a readable sketch
Crop out paper edges, desk background, unrelated notes, and unused white space. If the sketch is photographed, make sure it is not distorted by perspective. Increase contrast if the lines are too faint.
Before uploading, check that someone unfamiliar with the project can identify the main roof shape, openings and ground line. A loose massing sketch with a clear perspective may communicate these better than a detailed drawing where trees, people and notes compete for attention.
- Keep the building's full silhouette and main openings visible.
- Separate building edges from vegetation and annotation lines.
- Retain enough context to explain where the building meets the ground.
- List which lines describe agreed geometry and which remain exploratory.
A prompt to adapt to your sketch
Describe the building type, material direction, light and context. State what you want to preserve, then check that the output follows the instruction.
Turn this architectural sketch into a photorealistic exterior visualization of a small modern house. Keep the same massing, roof shape, camera angle, and main facade openings. Use warm timber cladding, soft daylight, simple landscaping, and a calm residential atmosphere.
This is a starting instruction to test with your own sketch. No recorded input/output pair accompanies this prompt.Compare and correct the result
- Save the starting point. Keep the cleaned sketch, its crop and the prompt together. Record the selected model, output size, references and any exposed influence settings.
- Change one direction at a time. Keep the sketch and settings consistent while comparing a finish or lighting choice. Save rejected attempts alongside the selected image.
- Check the drawing against the output. Compare roof corners, building proportions, opening count and ground contact at the same displayed size. An added balcony or moved entrance needs a design decision, even if it looks plausible.
- Refine the affected region. If one facade finish or planting area needs work, inspect its selection before editing. Review nearby openings and edges again afterwards. See the selection-review guide.
- Return to the source when geometry is unclear. Redraw an ambiguous line or make a model view. Use the base-image guide to choose the next input.
What the image can support
A checked sketch study can help explain a concept or compare materials. It does not establish dimensions, construction details or exact products. When a client may interpret an element as approved, verify it in the model or drawings and identify any unresolved parts in the presentation.
Keep actual time and credit use with the accepted and rejected files. Use the render-review notes template for your record.