By Rendero | Updated 8 September 2026
Choose an input that shows the geometry the next image must retain. A sketch may be enough to discuss a roof shape. Once opening positions and levels are agreed, use a view from the current model so you can compare the output against them.
Two source views to inspect
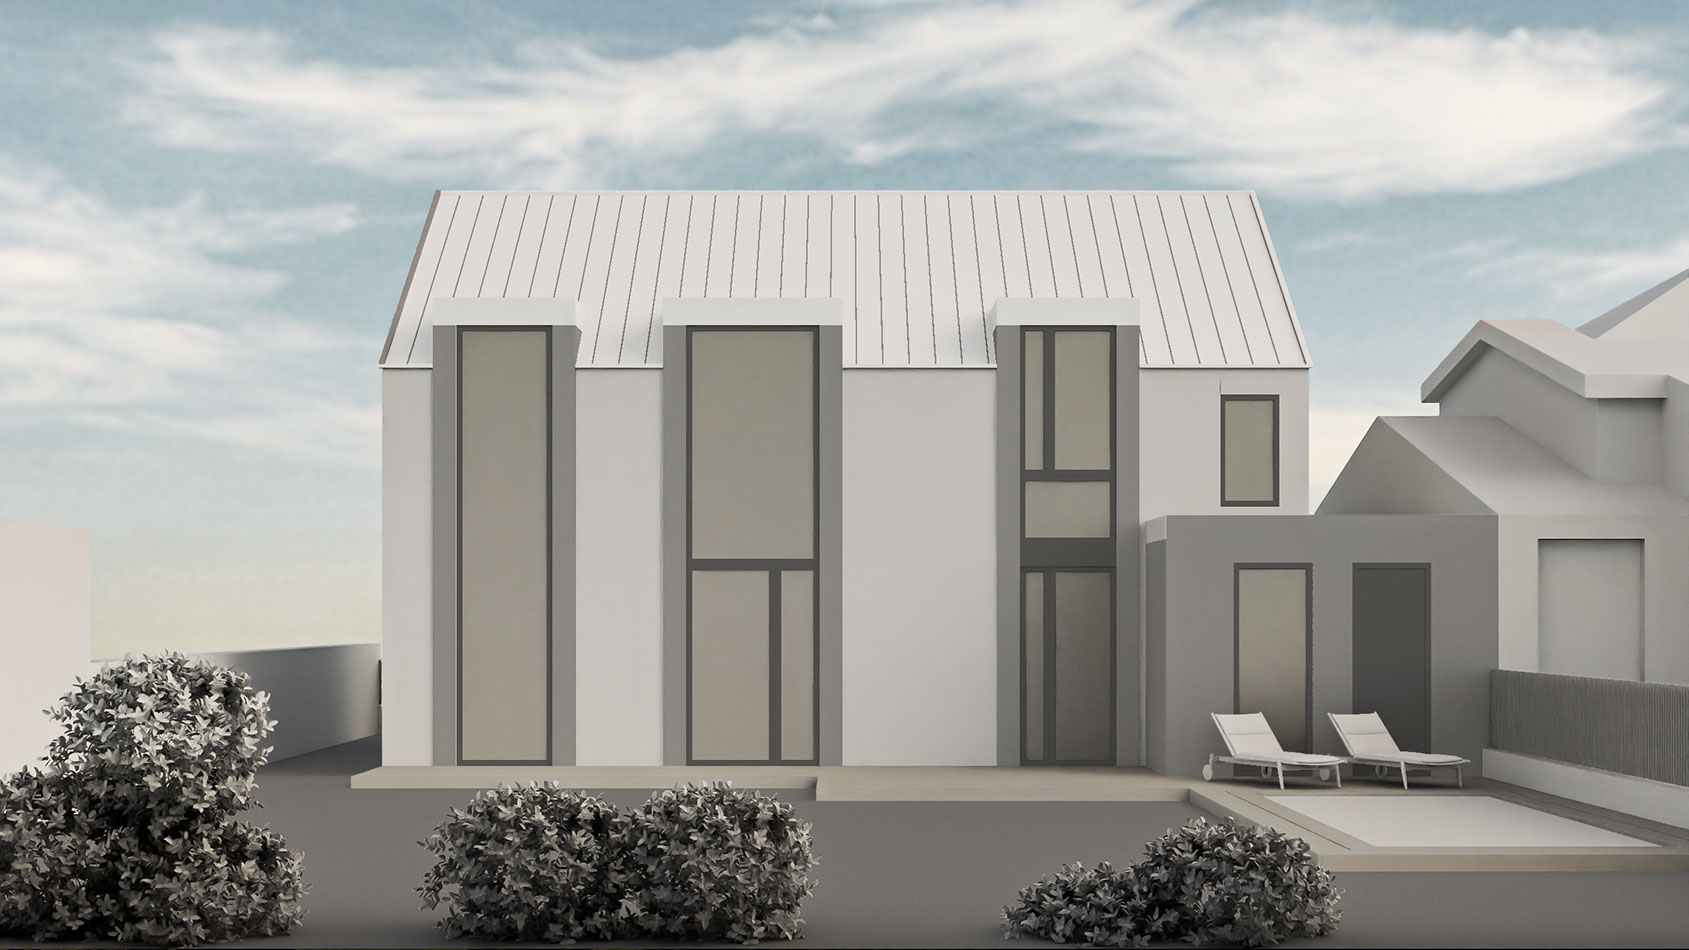
Roof, glazing and wall surfaces are distinct. Soft shadows help describe depth.
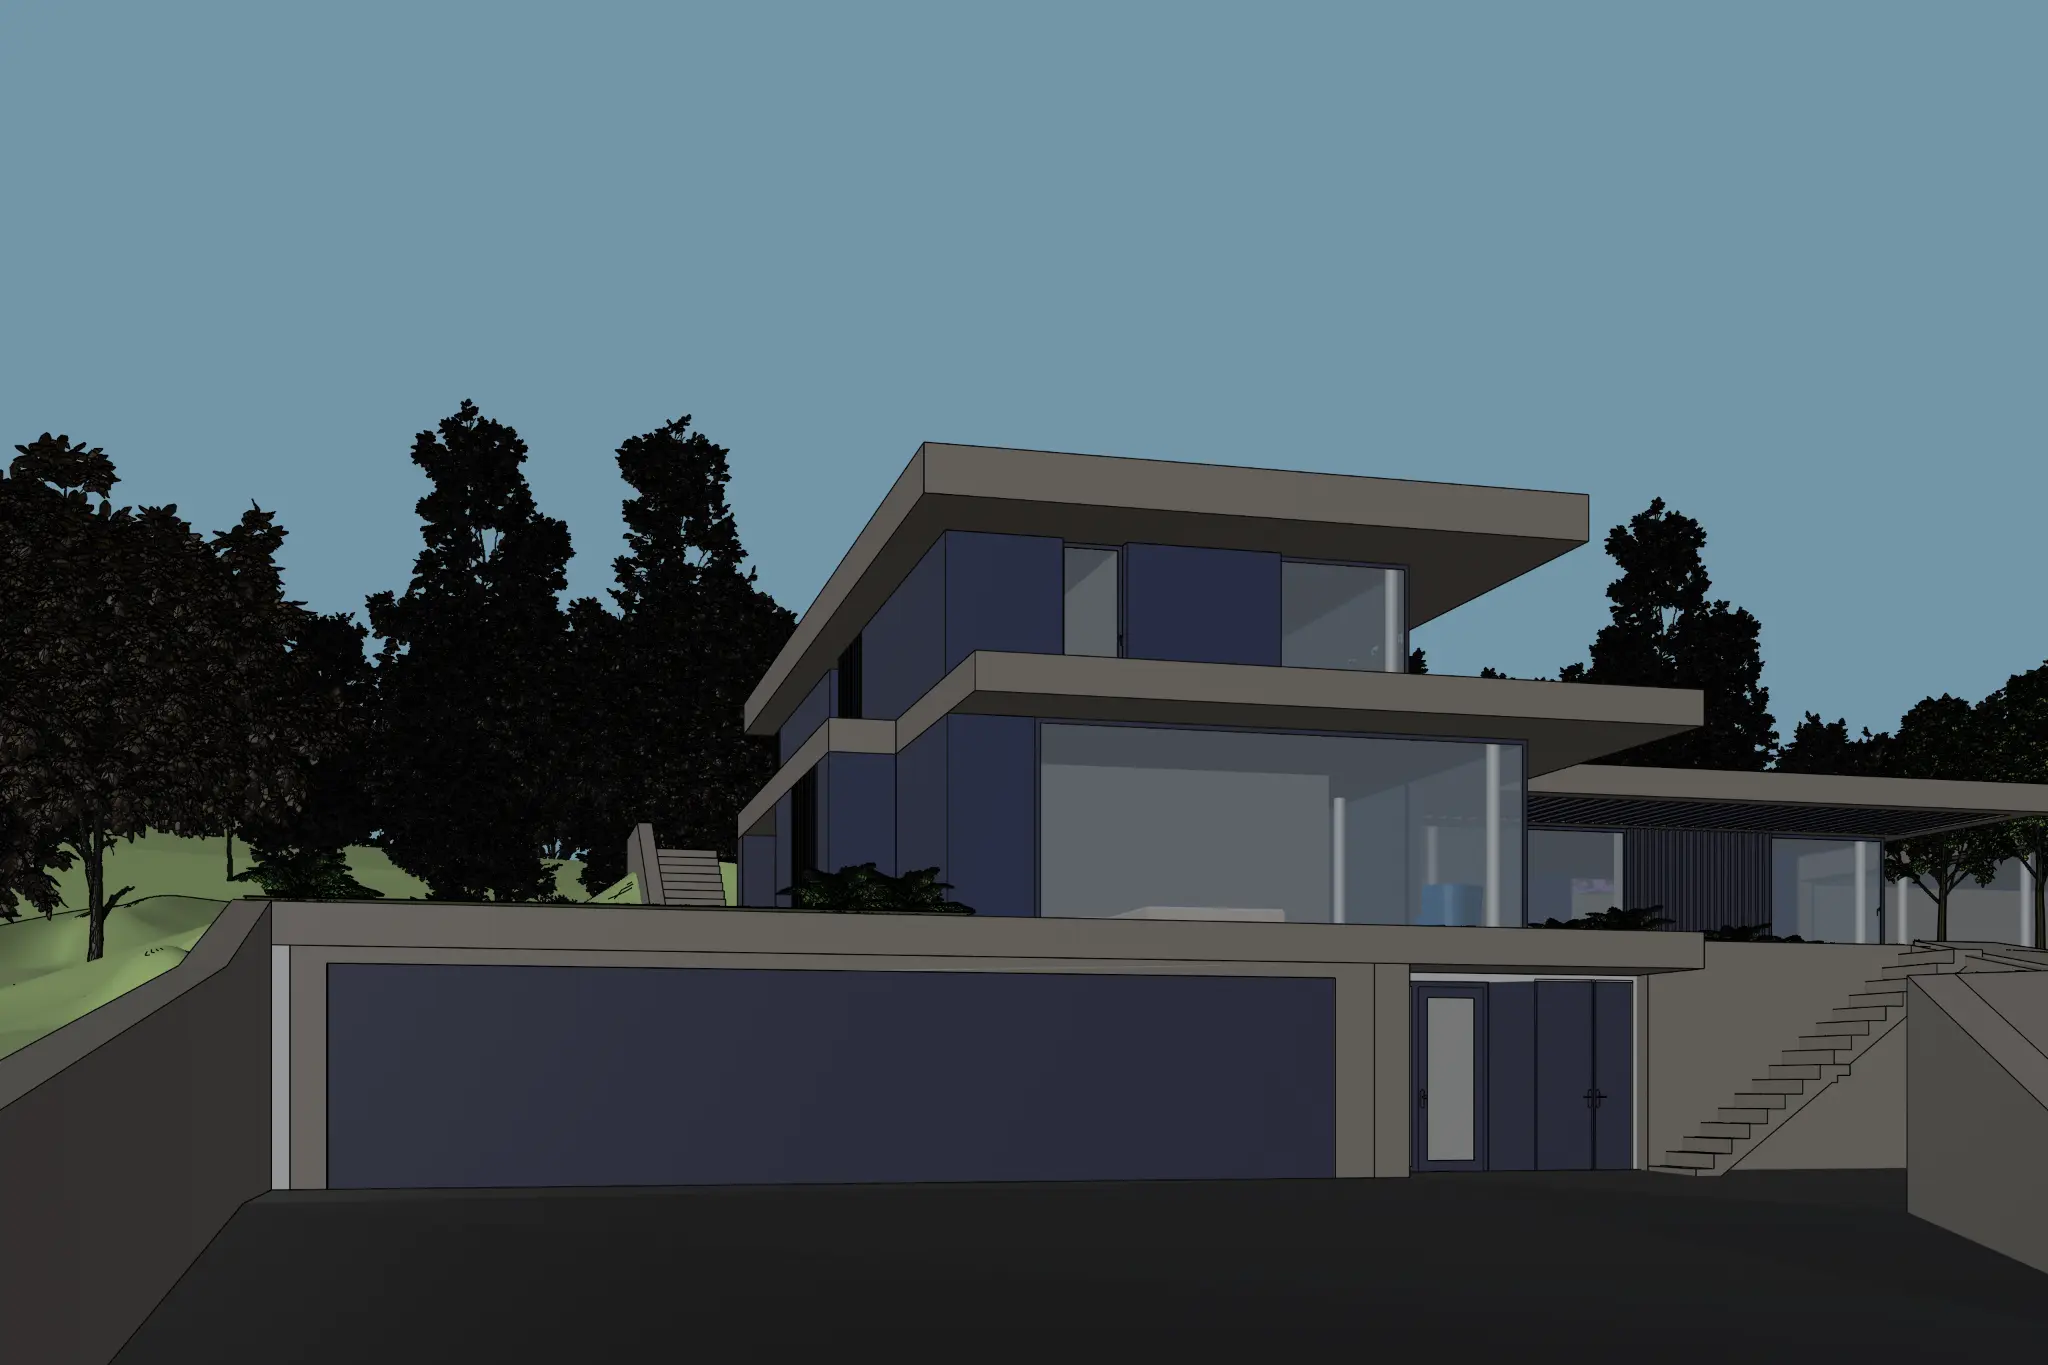
Slab edges and terraces are visible, but the dark foreground needs attention before export.
These published Rendero source-view examples show different buildings. They illustrate what to inspect in an input; they are not a same-scene accuracy comparison or a generation sequence.
Choose according to the decision
Sketch
Use it to explore an early shape, composition or material direction. Check that the roof, openings and ground line can be read without the annotations.
Prepare a sketchClay render
Use neutral materials when you want to study finishes from an established view. Keep shadows that explain recesses and depth; inspect edges around glazing.
Review a clay exampleModel screenshot
Use a saved camera from the current model. Hide guides and selection highlights, then check dark corners and thin elements in the exported image.
Export a SketchUp viewExisting render
Use it when the composition works and a finish or area needs attention. Inspect the selected boundary and compare the surrounding pixels after the edit.
Check a selectionWhat a reference image can supply
A material or atmosphere reference can show the oak tone, stone texture or lighting you want. Tell the tool which quality to use. Keep the project view as the source for its camera and layout. See the reference-image guide for more on separating those roles.
A text-only brief can describe a concept, but it supplies no image of your project's geometry. Start from a project view when specific openings, floor levels or proportions need to survive the study.
Export a view for Rendero with the SketchUp guide, Revit guide (in English) or Rhino guide (in English).
Check the export before uploading
- Reopen the saved image and confirm that the roof, ground contact and main openings are uncropped.
- Look for a missing stair, black recess or faint sketch line. Fix an unreadable source before asking the model to interpret it.
- Use image dimensions accepted by the selected tool. Keep the crop and camera consistent between studies.
- Save the source beside the output. Compare silhouette, opening count and material boundaries at the same displayed size.
These are preparation guidelines, not a measured ranking of input types. A detailed source still needs a checked output. Record the input, settings and review in the render-review notes template.