SketchUp is one of the fastest ways to build and test architectural ideas. But there is often a gap between a useful SketchUp model and a convincing architectural render. The model may explain geometry, but it still needs materials, lighting, landscape, atmosphere, and presentation polish.
A SketchUp AI render workflow helps bridge that gap. Instead of setting up a full rendering scene every time, you can use a SketchUp view as the base image for AI rendering. The goal is not to replace SketchUp. SketchUp remains the place where the architecture is shaped. AI rendering helps you explore how that model could look.
What is a SketchUp AI render?
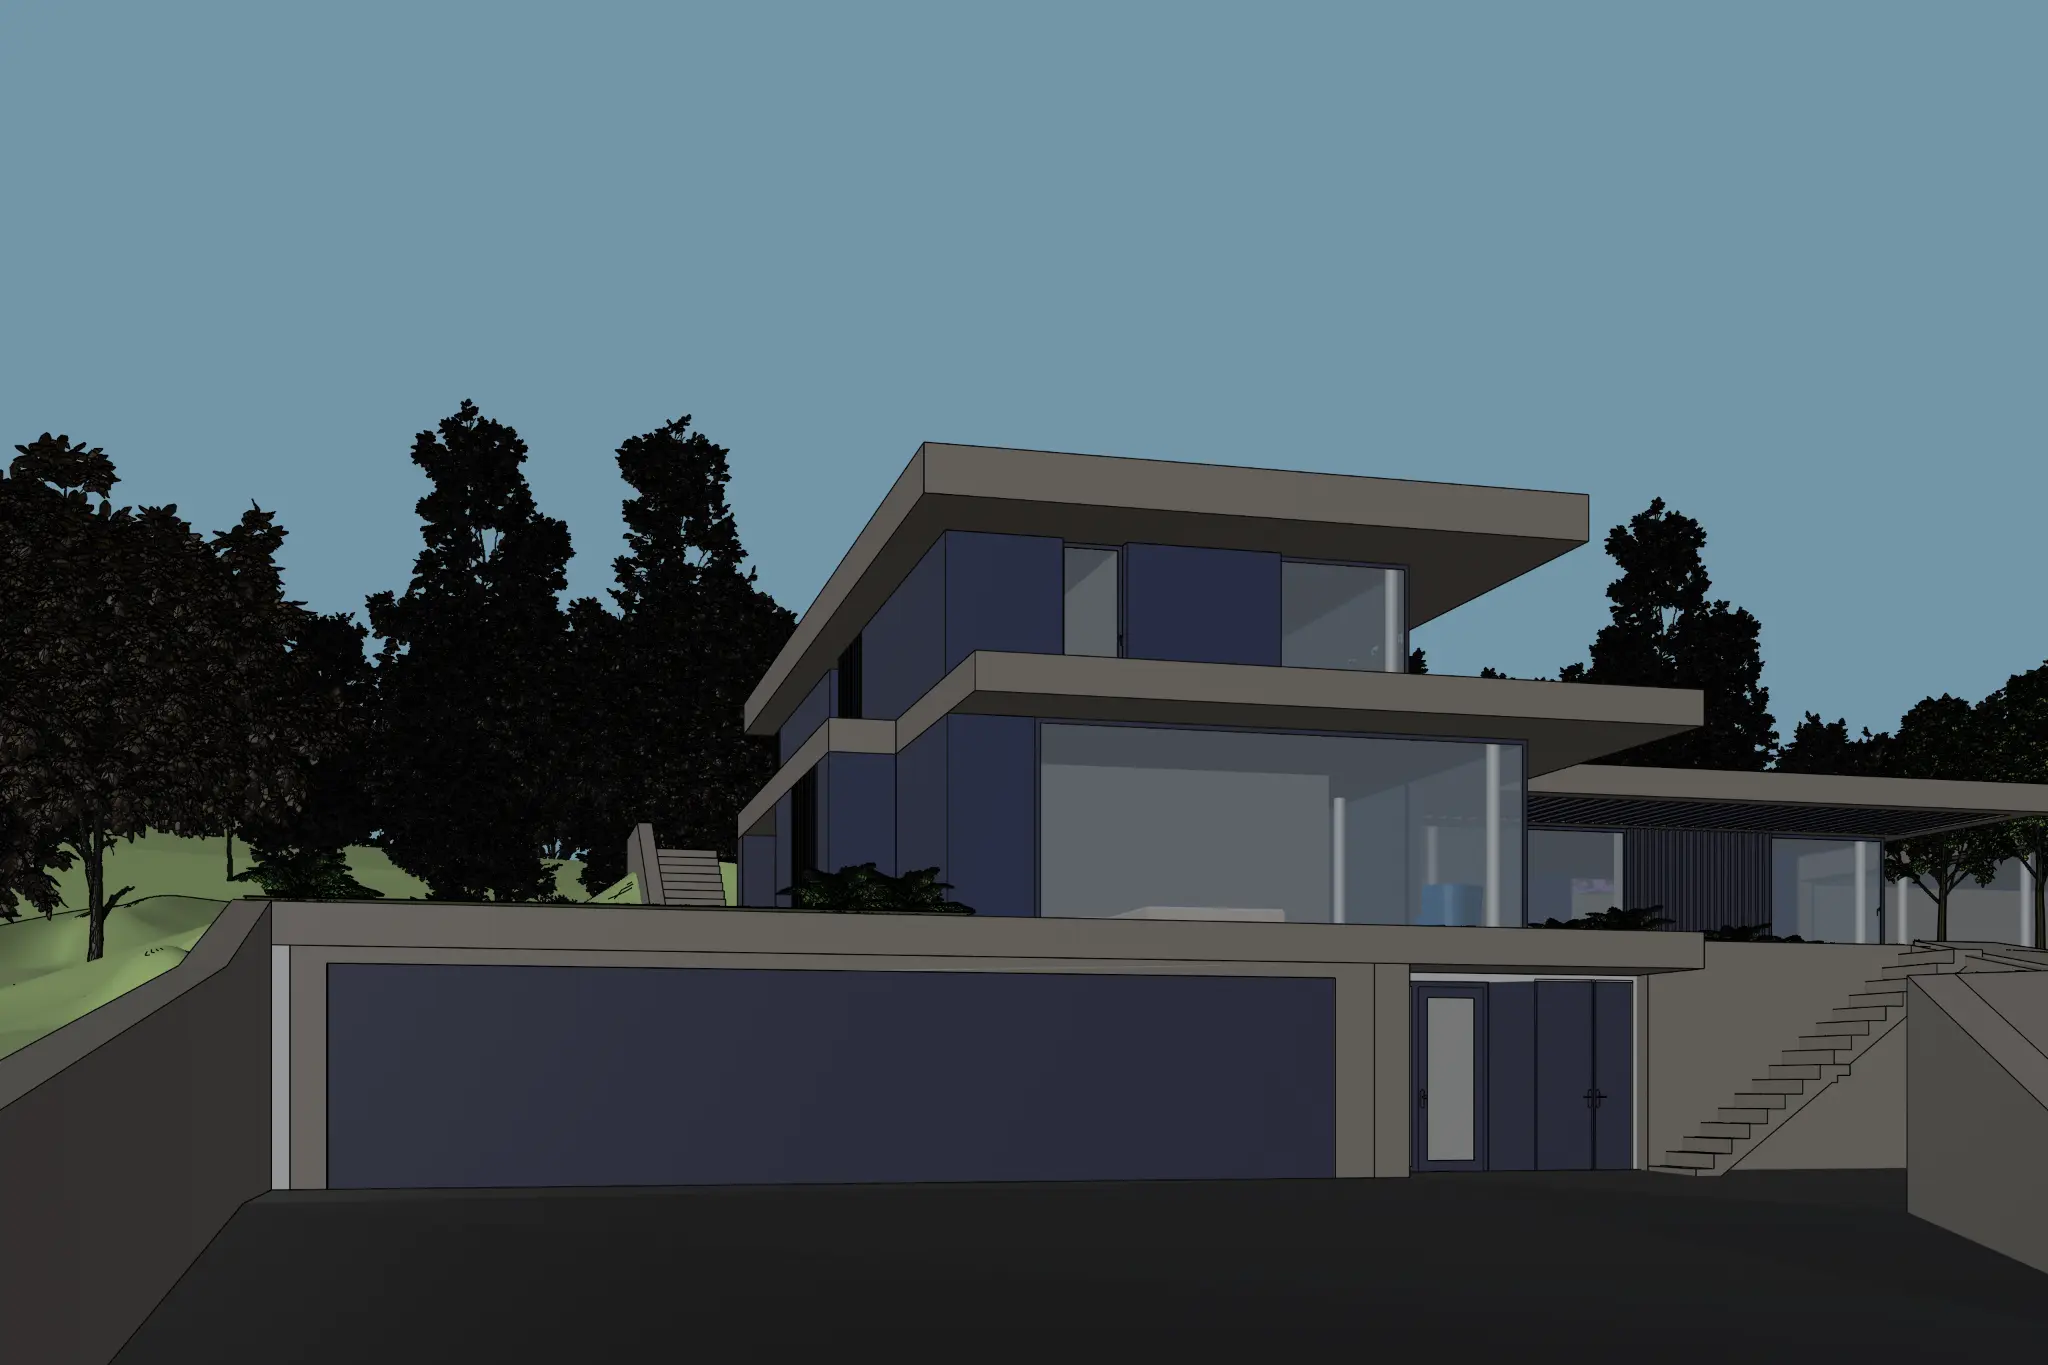
A SketchUp AI render is an AI-generated architectural visualization based on a view exported from a SketchUp model. The input can be a clay render, shaded viewport, linework view, simple material view, or a more developed screenshot.
- Realistic materials
- Daylight or evening atmosphere
- Facade detail
- Interior mood
- Landscape and vegetation
- Presentation quality
When should architects use AI rendering with SketchUp?
AI rendering from SketchUp works best when you already have a model that communicates the project clearly, but you do not want to spend hours setting up a traditional render just to test a visual direction.
- Create quick visuals for a client meeting
- Test facade materials before finalizing the model
- Compare moods or lighting conditions
- Turn a clay model into a more realistic image
- Explore landscape options
- Generate visual options before investing in final rendering
What kind of SketchUp view works best?
A good AI render starts with a good input image. Your SketchUp export does not need to be final, but it should be readable.
- A clear camera angle
- Visible main geometry
- Readable facade rhythm
- Correct window and door placement
- Clean shadows or ambient occlusion
- Minimal distracting background elements
How to prepare a SketchUp model for AI rendering
Clean the model view
Hide guides, construction lines, temporary objects, unused layers, and anything that should not appear in the final visualization.
Choose the camera intentionally
Do not use a random working viewport. Pick a camera angle that would make sense as a render.
Use shadows if they help the form
Soft shadows can help the AI understand depth, recesses, and volume.
Decide what should stay fixed
Identify massing, roof shape, window positions, facade rhythm, camera angle, main structural elements, and composition before generating.
A practical SketchUp AI render workflow
- Export a clean SketchUp view. Clay, monochrome, or simple shaded exports often work well.
- Define the rendering direction. Name the material, building type, atmosphere, and level of realism.
- Write a controlled prompt. Describe the desired result and what should remain unchanged.
- Generate several options. Compare facade, lighting, landscape, and mood directions.
- Choose the option that respects the model. Do not pick only the most cinematic output.
- Refine locally instead of starting over. Adjust facade material, windows, sky, lighting, or landscape without losing the whole image.
Prompt example: Turn this SketchUp model view into a photorealistic architectural visualization. Keep the same camera angle, massing, roof shape, window positions, and overall composition. Add natural timber cladding, realistic glass, soft daylight, subtle landscaping, and a calm residential atmosphere.
Common mistakes
- Exporting a messy working view
- Expecting AI to solve unclear geometry
- Using overly broad prompts
- Choosing drama over usefulness
- Treating the AI image as a final technical render
Where Rendero fits into a SketchUp workflow
Rendero can work as a visual layer after SketchUp. You build and test the architecture in SketchUp, then use Rendero to turn selected views into AI-assisted architectural visuals.
This keeps the workflow clear: SketchUp for modeling, massing, and design structure; Rendero for AI rendering, material exploration, atmosphere, and visual refinement.
SketchUp AI render vs traditional rendering
Traditional rendering tools are still valuable when the project needs precision, consistency, and full control over scene setup. AI rendering is useful when speed and iteration matter more than building a full final render setup.
Next step: Try Rendero with a SketchUp view, or book a demo to see how AI rendering can fit into your architectural workflow.