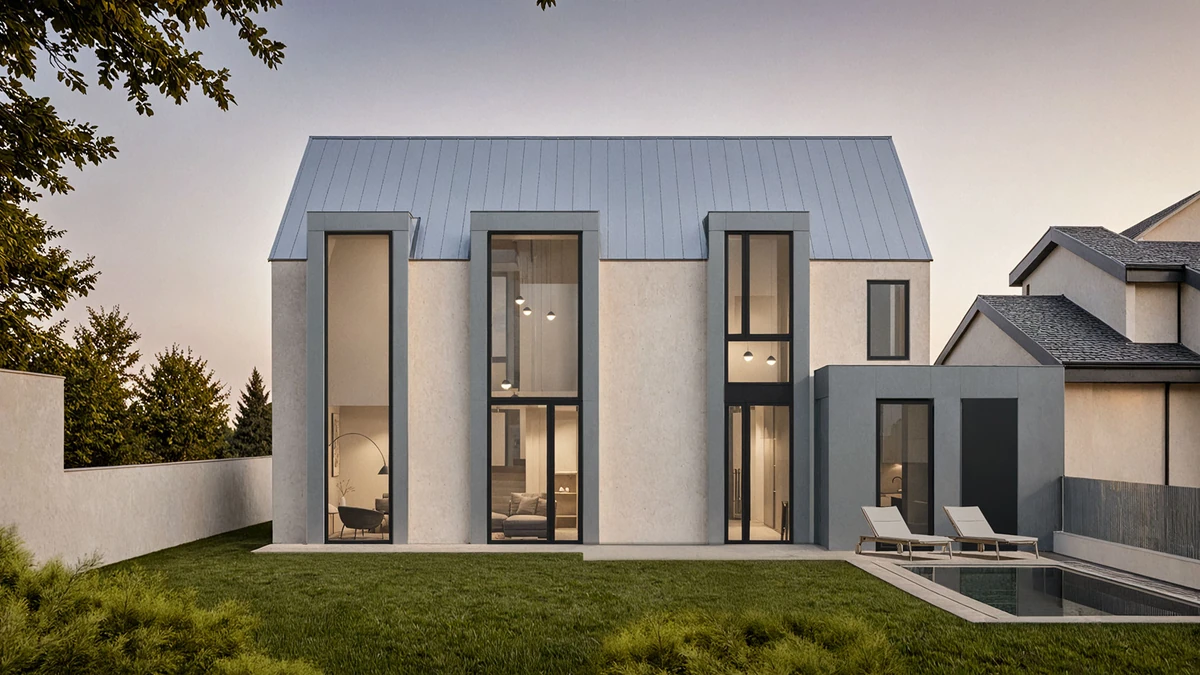
By Rendero | Updated 12 September 2026
Using Rendero
- What to bring
- A sketch, clay render, model-view export or existing image saved as PNG, JPG or WebP.
- What you can do
- Generate an image from your source, then guide revisions with prompts, selected regions and the reference options supported by your engine.
- What to check
- Compare the camera, openings and material boundaries with the source. Apply accepted design changes to your model and project documents.
Inspect two published source-view examples
How credits work
Free accounts receive 50 starting credits once at signup. These credits do not refill each month.
Rendering charges vary with the model, resolution and, for some engines, processing time. Upscaling uses additional credits. The app shows your remaining balance.
Allow for retries and edits when planning a project. A credit balance does not represent a fixed number of finished images.
Before generating a presentation image, write down the decision it needs to support. A facade study might compare brick and mineral render. A lobby view might help a client choose between daylight and evening lighting. Those are different briefs, even when they start from the same model.
From concept to client presentation in 7 steps
- Define the decision. Write one sentence describing what the image must help the team or client decide: facade warmth, landscape density, lobby atmosphere, material contrast, or something else.
- Prepare the right base image. Use a view with readable massing and enough geometry to explain the project. Remove guides, placeholders, and accidental objects that the AI may treat as design. For preparation, see the sketch, clay-render or SketchUp export guide.
- Separate fixed from flexible. Fixed elements may include massing, floor levels, openings, structure, circulation, and camera. Flexible elements may include material character, planting, furniture, weather, and light. These are requirements to check, not guarantees from the prompt.
- Write a visual brief. Describe the project type, materials, context and lighting. Include the fixed constraints explicitly. State which part of a reference image you want to use.
- Generate comparable options. Keep the same source and change one design variable at a time. Record the model, output size, references and other exposed settings with each result.
- Refine the selected direction locally. Inspect the selection before correcting the facade, paving, vegetation, glazing or lighting. Check its surroundings after the edit.
- Run an architect's review. Compare the image with the current model and drawings, check every decision the client may interpret literally, and label the image according to its real status.
Example brief: comparing three facade directions
Imagine a small cultural building with agreed massing, entrance position and window rhythm. The review question is which facade and planting direction to develop. This is a hypothetical brief, not a recorded studio project.
Keep the camera consistent while preparing three named studies: a light mineral facade with sparse planting, warmer masonry with mature trees, and a darker rainscreen with an urban forecourt. These compare overall directions. To isolate the effect of the facade finish, use the same planting in every study.
Check the entrance, opening widths and floor levels before presenting the options. A version that moves a window needs correction even if its materials look convincing.
What changes at each project stage?
- Concept design: allow wider visual variation, but keep the core massing and site relationship legible.
- Design development: narrow the palette and check approved openings, proportions, circulation, and envelope logic.
- Client review: show fewer, comparable options and make the decision behind each image explicit.
- Final presentation: use a controlled 3D scene when exact products, repeatable viewpoints or contractual expectations require it. Verify the delivered images against that scene and the specification.
What the client may read as a promise
A client-ready image is clear, coherent, and appropriate for the decision in the room. It has been checked against the design and does not contain obvious visual contradictions. It may still represent materials, planting, furniture, or details that have not been specified.
Before presenting, inspect openings, repeated facade elements, structural lines, railings, stairs, reflections, material boundaries, people, vehicles, and landscape. If an element may be interpreted as a promise, either verify it or explain that the image shows design intent rather than a final specification.
Give each image a short note stating the option, the decision under review and any unresolved materials or details. Keep the source view with the presentation so the team can check a disputed opening or level.
Use the render-review notes template to save the source, settings, outputs and review decision. The architectural visualization guide explains which kinds of evidence each image can support.