Using Rendero
- What to bring
- An exported still image from your current scene. Keep the editable model for camera changes and later design revisions.
- What you can do
- Explore materials or atmosphere with prompts and selected-area edits. Reference support depends on the engine.
- What to check
- Rendero returns an image. Scene geometry, lights, materials and animation remain in your modeling or rendering application.
Review a published model and presentation pair
How credits work
Free accounts receive 50 starting credits once at signup. These credits do not refill each month.
Rendering charges vary with the model, resolution and, for some engines, processing time. Upscaling uses additional credits. The app shows your remaining balance.
Allow for retries and edits when planning a project. A credit balance does not represent a fixed number of finished images.
By Rendero | Editorial guide updated 8 September 2026
A scene-based renderer gives you direct control over the camera, modeled geometry, lights and materials. An AI image edit starts from a view of that scene and can introduce details that the model does not contain. Decide which of those details are allowed to change before choosing a tool.
Match the method to the revision
- A different facade finish: use an AI study to explore its appearance, then compare the window corners and roof edge with the source. Apply an approved specification to the model separately.
- A moved window or deeper balcony: revise the model first. The new opening and its relationship to the structure need to be visible in every required view.
- The same room from another camera: keep the views tied to the same scene. Review AI-assisted images together for changes in furniture, joinery and material placement.
- A final presentation: choose a workflow that can reproduce the approved view. Record any image edits and check the result against the current drawings and specification.
Traditional renderers also differ. Blender's EEVEE documentation describes a real-time rasterization engine and its limitations compared with path tracing. A rendering method alone does not certify an image's dimensions or lighting accuracy.
Keep the model and image in agreement
Export a view from the current model and save it as the comparison source. During a material or atmosphere study, keep the camera and intended edit consistent. Review the source and result side by side before exploring another option.
If a visual option changes the design, return that decision to the 3D, CAD or BIM model. A convincing balcony in an image does not update the balcony in the model.
For an existing Lumion scene, follow the Lumion image-study workflow (in English) and carry approved changes back into the scene.
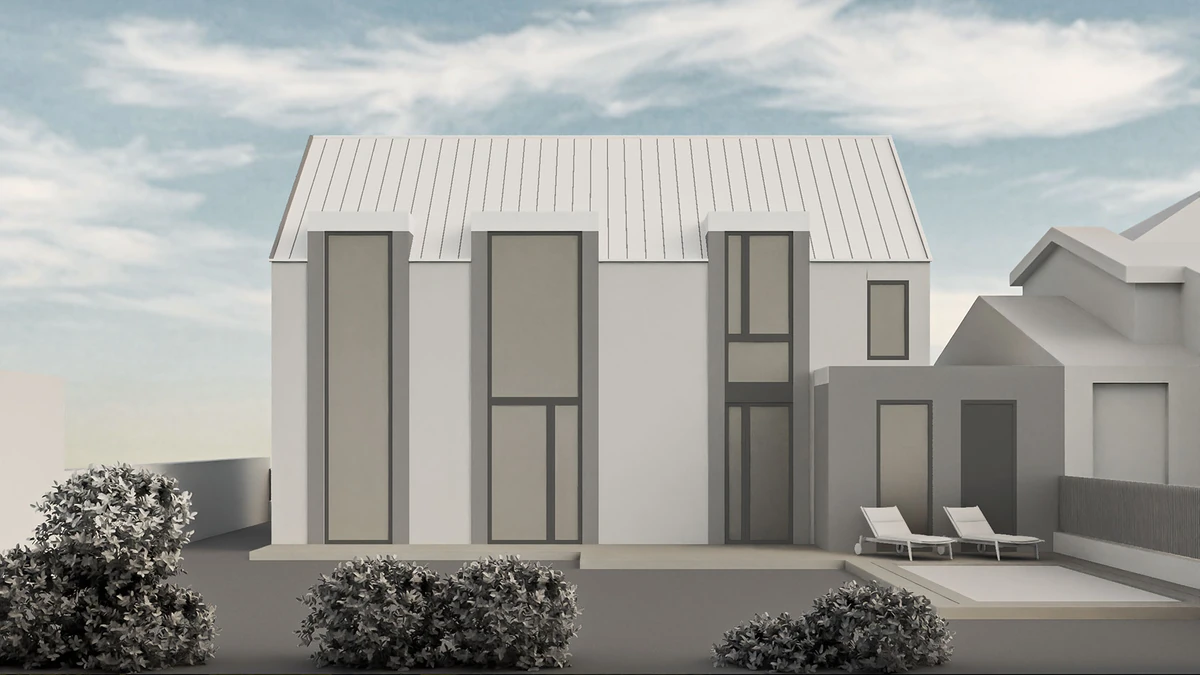
The clay-render guide shows a published model and presentation pair with its evidence limits. Use it to plan a material study; it does not establish a speed comparison between AI and traditional rendering.
For local edits, follow the selection-boundary review and save the reason you accepted, refined or rejected the result.