By Rendero | Visual guide updated 4 September 2026
Using Rendero
- What to bring
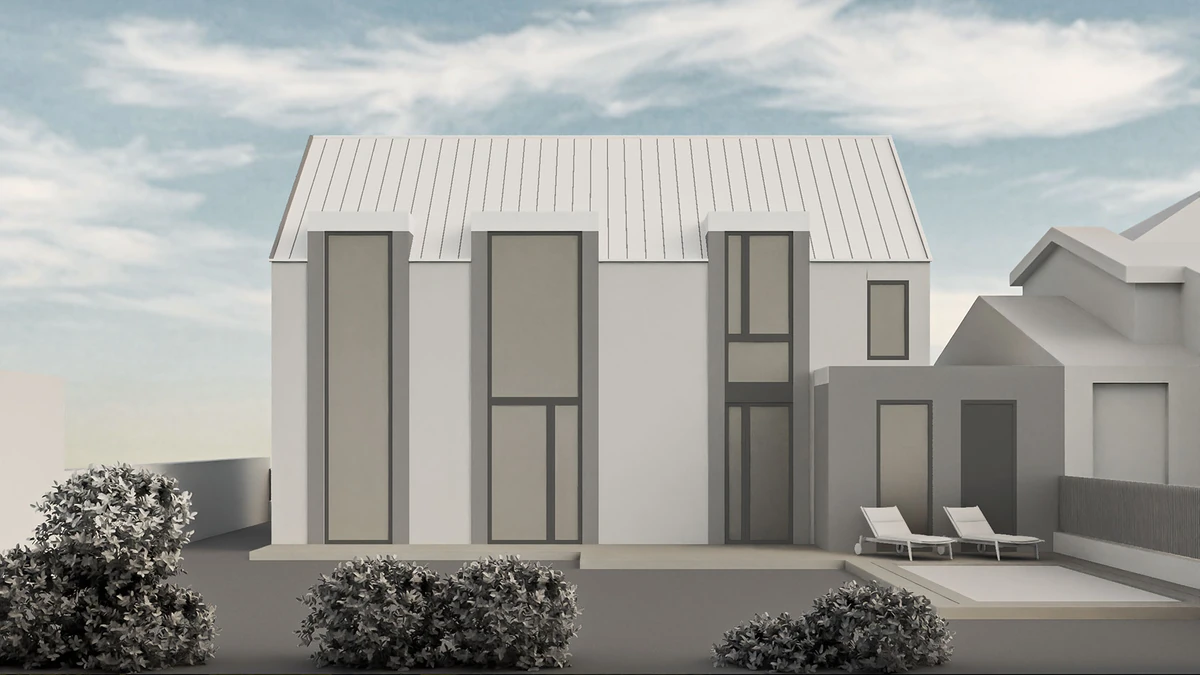
- A neutral model view with readable openings, recesses and shadows. Keep a copy of the original camera view.
- What you can do
- Study finishes and lighting with a prompt, adding a reference if the selected engine supports it. Select a region when the revision concerns one surface.
- What to check
- Check window divisions, roof lines and adjoining surfaces. The linked example shows visible changes and identifies the missing original run settings.
Inspect the published model and presentation
How credits work
Free accounts receive 50 starting credits once at signup. These credits do not refill each month.
Rendering charges vary with the model, resolution and, for some engines, processing time. Upscaling uses additional credits. The app shows your remaining balance.
Allow for retries and edits when planning a project. A credit balance does not represent a fixed number of finished images.
Public demo assets
A neutral model, region map and presentation image.
Visual review
Compare visible design differences; do not infer an exact generation run.
Run specifications
Original prompt, model/version, seed, references, attempts, time and credits.
Inspect the model and presentation side by side
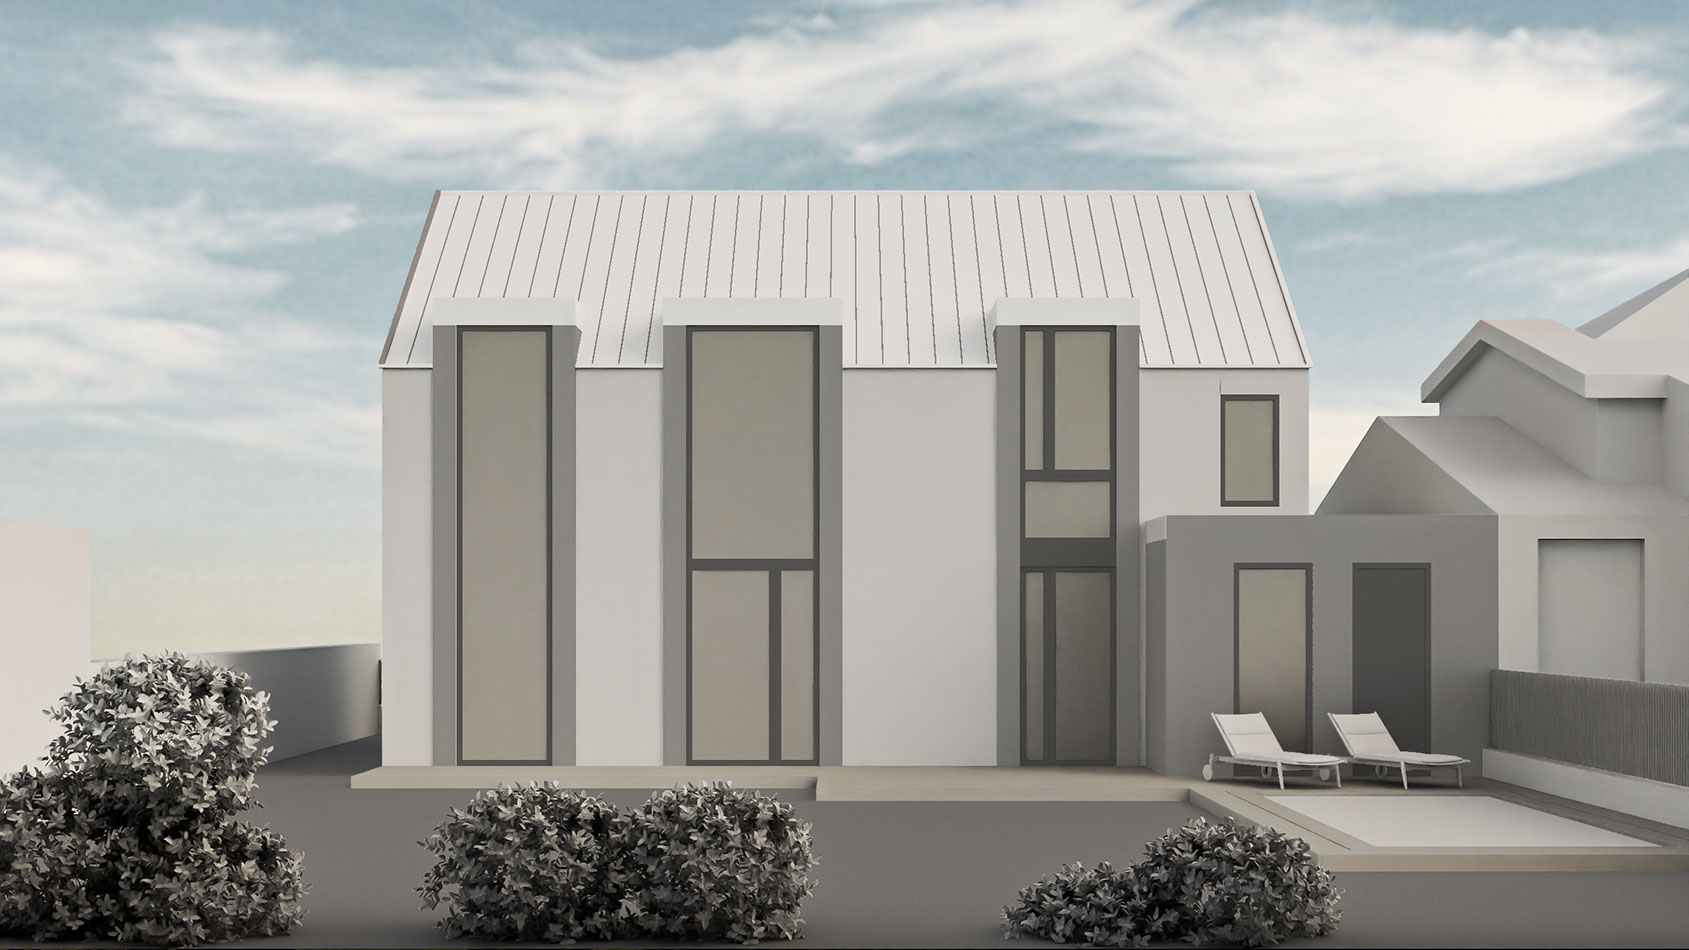
Neutral surfaces, three tall glazed bays and a lower side extension.
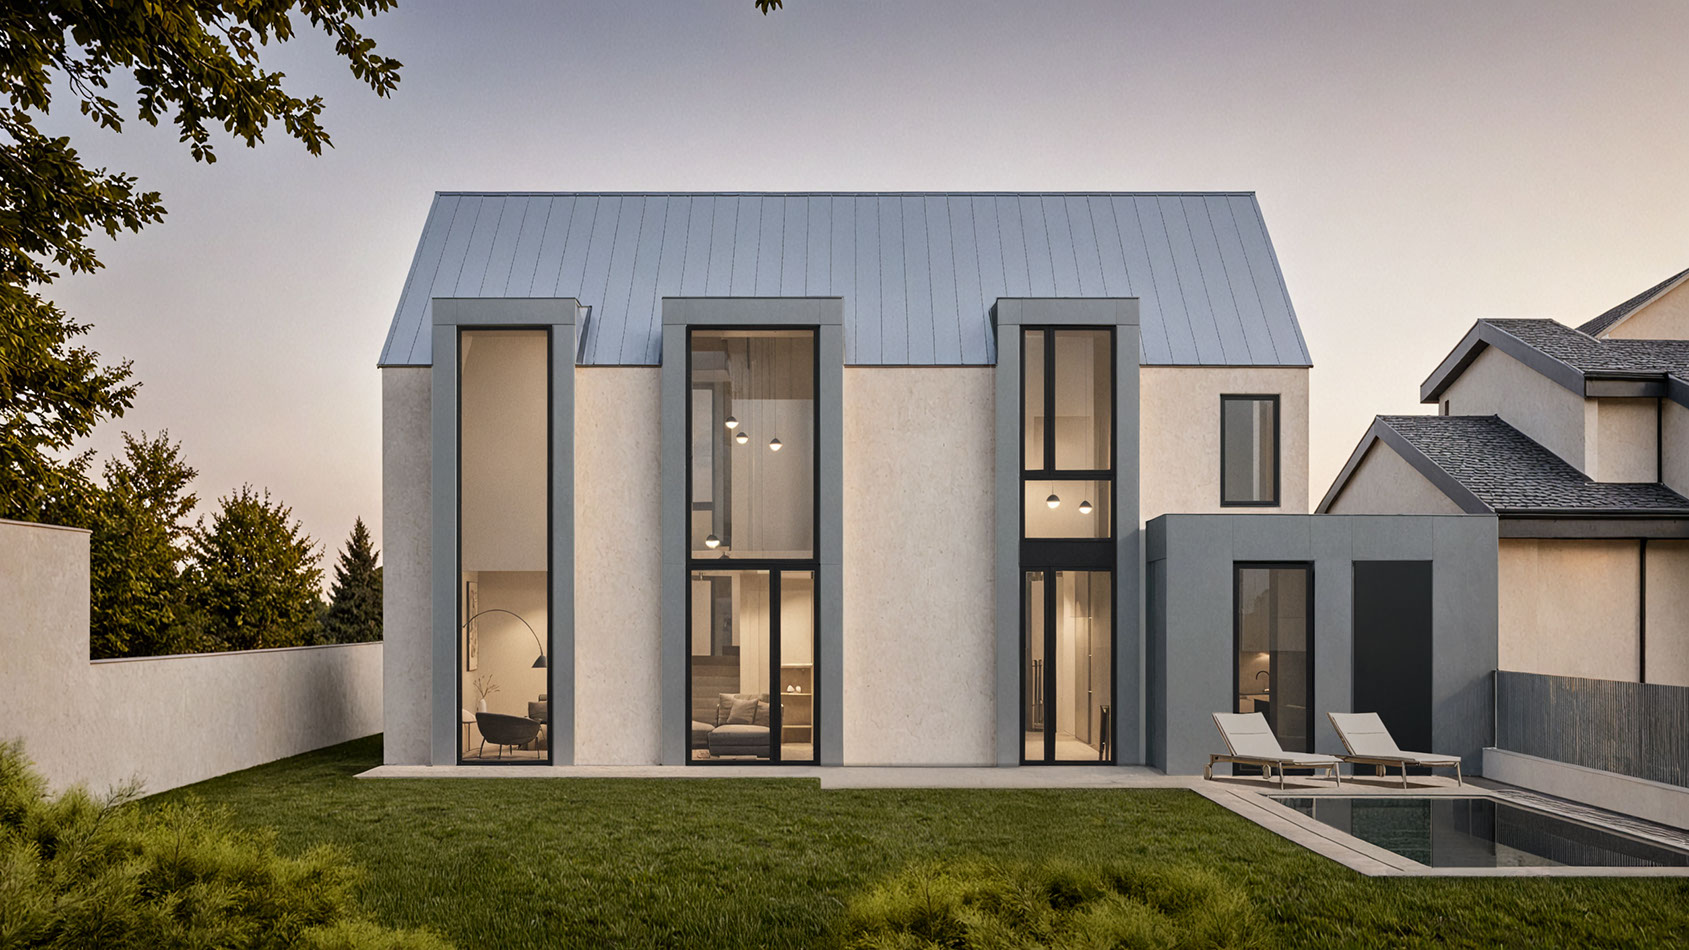
The same facade is recognizable; surfaces, interior detail and planting develop.
Comparison scope: these are existing Rendero demo assets, not a repeatable benchmark or customer project attribution. The complete original generation record is unavailable. Click either image for full-size inspection.
Three differences to inspect
Window divisions
Separate frame crossbars from added furnishings and reflections.
Roof + facade
Check seams and reveals. A convincing finish does not verify panel width or junction detail.
Ground + planting
Landscape and water details change. Check against any already approved design.
Isolate the finish you want to study
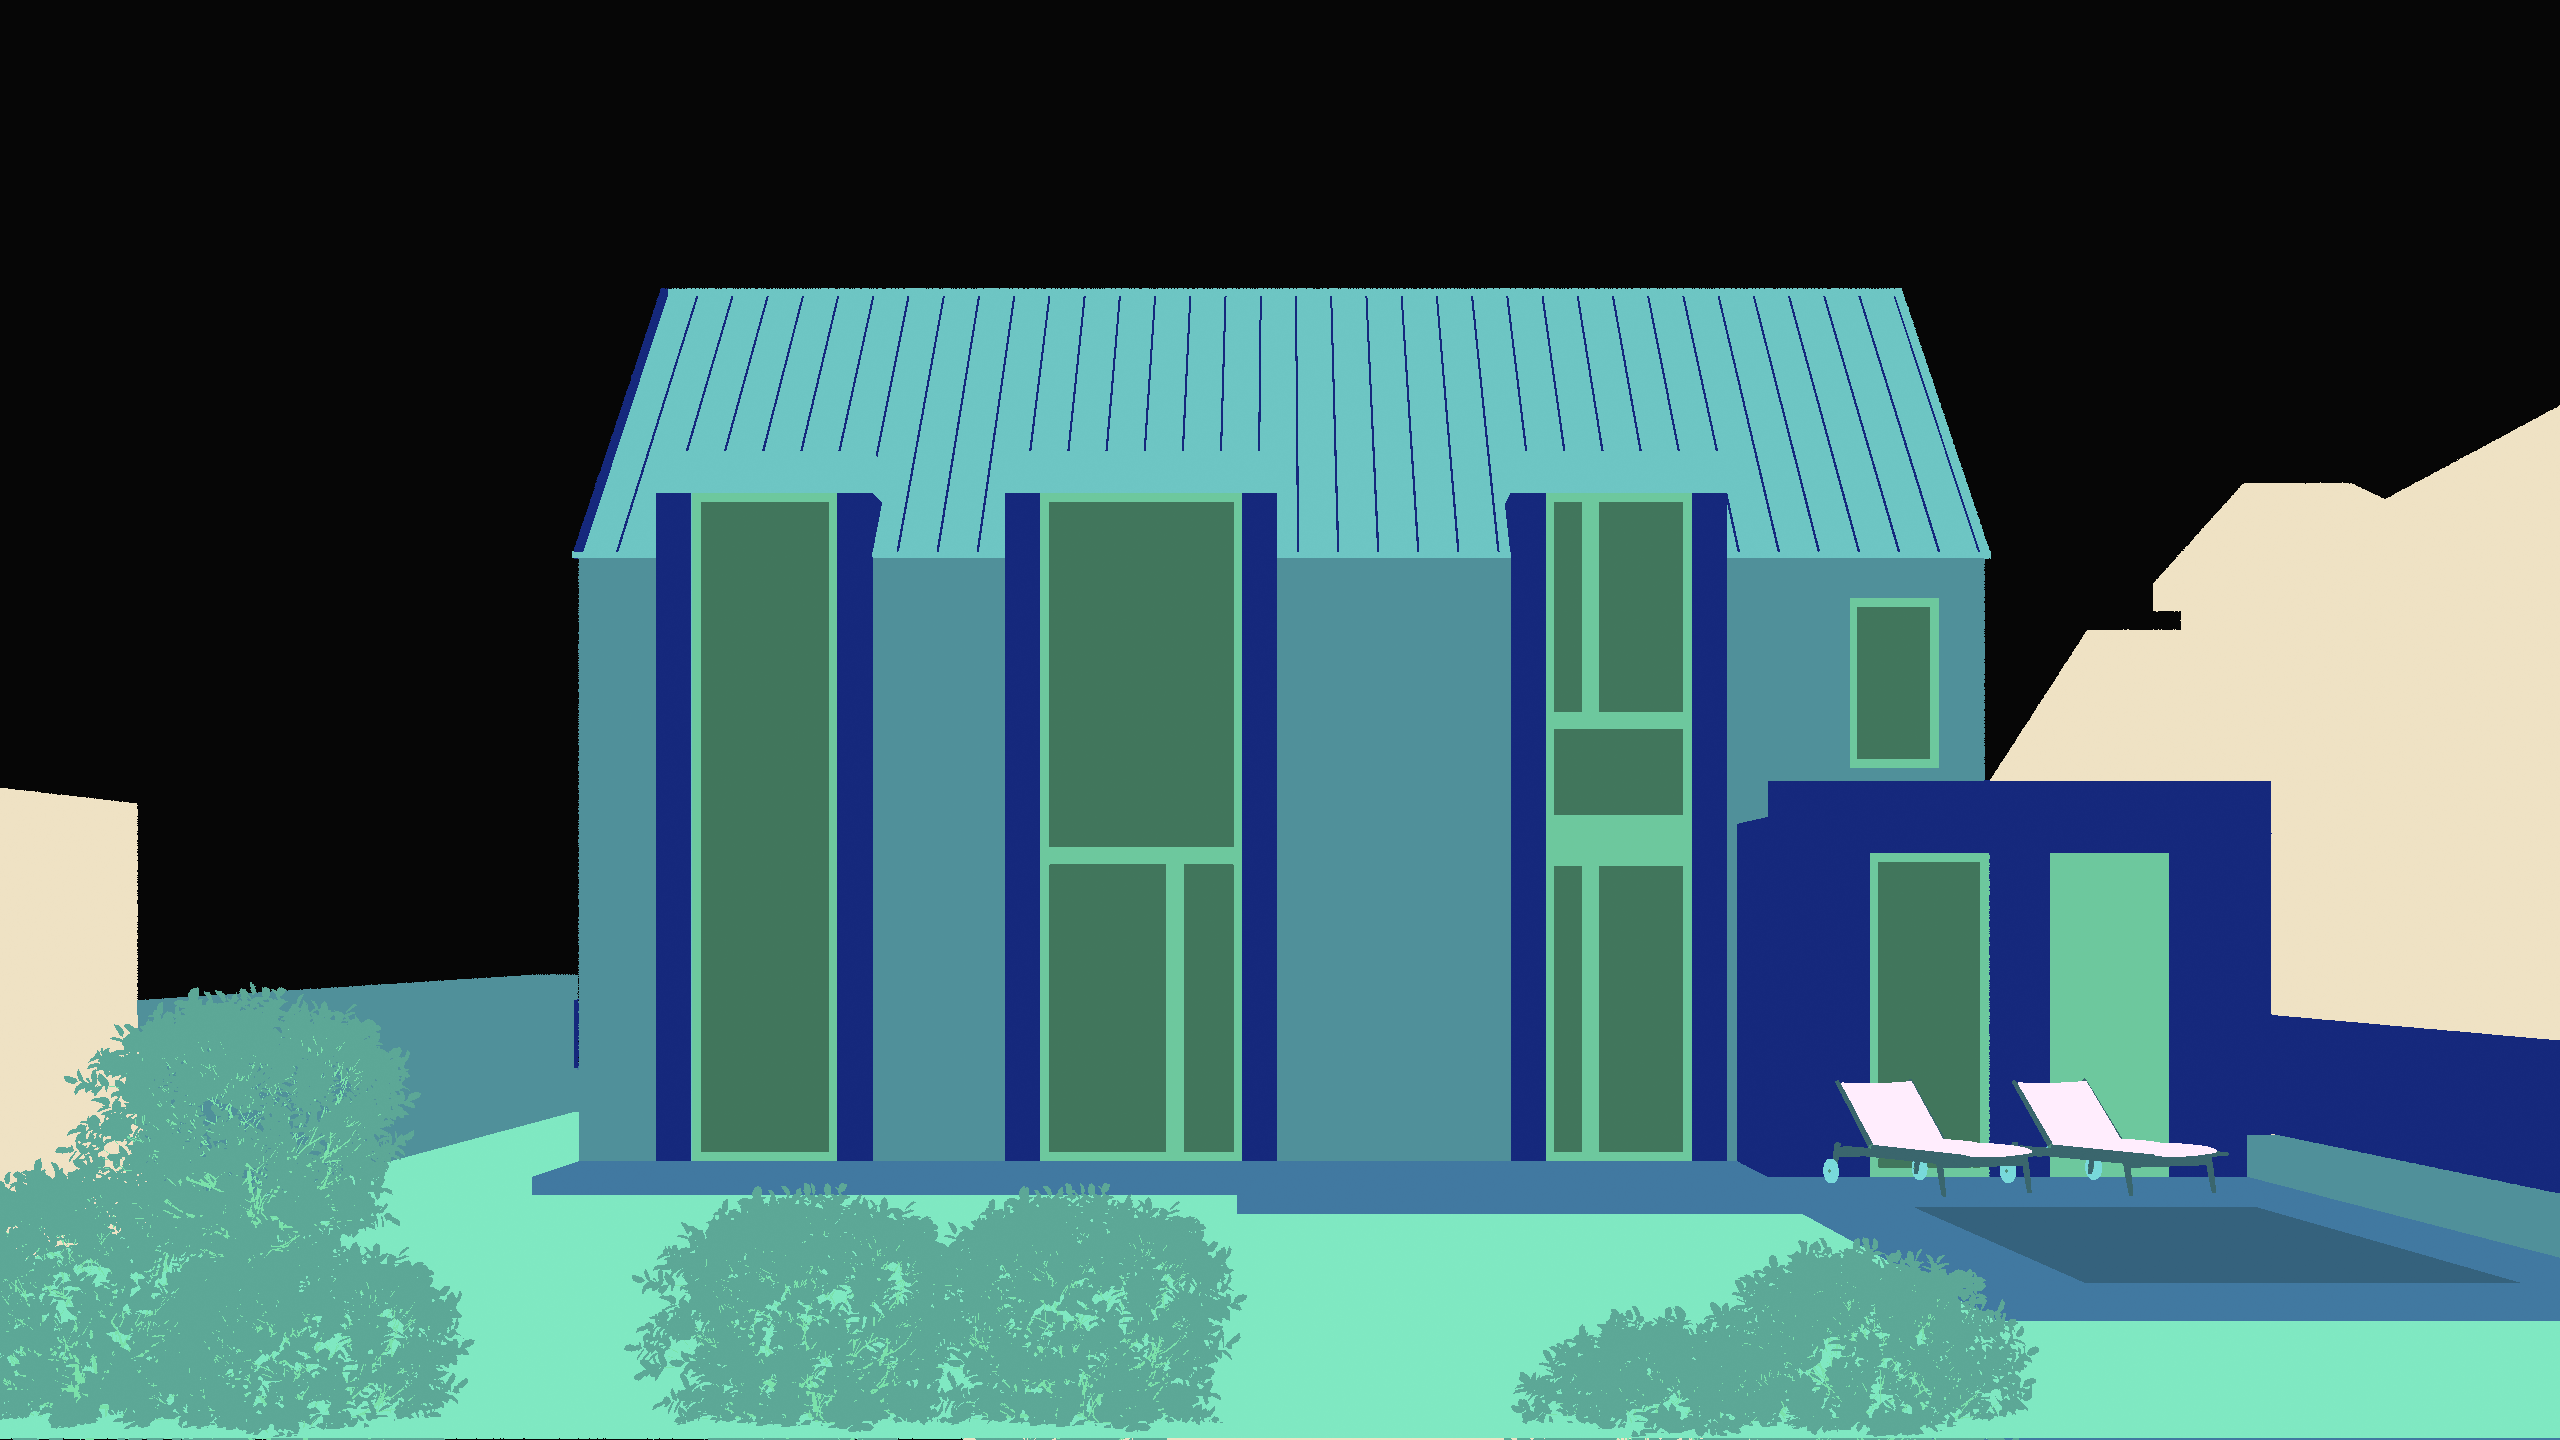
Colors identify regions, not final finishes.
Opaque facade only
Keep glazing, roof and ground out. Inspect narrow window borders and areas hidden by planting.
A map helps define a selection; it does not prove that the resulting edges are unchanged.
Use a light mineral plaster with a fine, matte texture on the selected facade. Keep openings and borders readable. Leave glazing, roof and landscaping unchanged.
A new test instruction, not the prompt behind the published image. Review the region and its surroundings.Set up your own comparison
- Export the sourceKeep soft shadows that explain depth.
- Set the baselineSave camera, model and settings.
- Change one finishKeep rejected attempts too.
- Review the designCorrect locally or return to the model.
Input / aspect ratio / model + version / output size / references + exposed settings / prompt / accepted and rejected files.
Measure on your runActual credits and time, including rejected attempts. Download the render-review notes template.
Use the model, drawings and actual material specification for construction or procurement. A concept image can communicate atmosphere without proving accuracy.
A practitioner's reason for using a white model
"Being able to skip the step of adding materials to a rendering is unbelievable."
Rajah Bose, studioBOSE. Published Rendero testimonial.
His studio profile identifies him as founding principal. This is a workflow account, not a controlled timing study. The demo house is not identified as a studioBOSE project.
For measured selection-mask results, see the 50-image selection benchmark. It tests masks, not final render quality.
Frequently asked questions
What is a clay render used for in AI rendering?
A clay render uses a simplified neutral material palette while retaining the view and visible form of the model. Soft shadows or ambient occlusion can help explain depth. It gives you a source for exploring finishes and atmosphere, while the model remains the reference for design accuracy.
Can I reproduce the exact published example from this article?
The guide shows existing Rendero demo images, but their complete original generation settings, model/version, references, seed, attempts, elapsed time and credit use are not recorded here. Use them as a visual review exercise, not a repeatable benchmark.
What should I check after converting a clay render?
Compare the roof silhouette, window divisions, facade junctions, landscape boundaries and ground contact with the source. Mark differences as intended, acceptable for concept review or requiring correction. A photorealistic appearance does not establish dimensional or material accuracy.
How should I compare two facade materials?
Keep the input view, camera/aspect ratio, model/version, output size and references consistent, and change one material direction at a time. Inspect the selected boundaries and surrounding details after each render, saving both accepted and rejected attempts with their actual credit use.